#StandWithUkraine - Stop the Russian invasion
Join us and donate. Since 2022 we have contributed over $3,000 in book royalties to Save Life in Ukraine & Ukraine Humanitarian Appeal & The HALO Trust, and we will continue to give!
Upload and Convert to Google Sheets
We feature Google Sheets in this book partly because it supports data migration, meaning the ability to import and export files in many common formats. But imports work best when you check the Convert uploads box, which is hidden inside the Google Drive Settings gear symbol as shown in Figure 2.9. Checking this box automatically transforms Microsoft Excel sheets into Google Sheets format (and also Microsoft Word and PowerPoint files into Google Documents and Slides formats), which allows easier editing. If you don’t check this box, then Google will keep your files in their original format, which makes them harder to edit. Google turns off this conversion setting by default on new accounts, but we’ll teach you how to turn it on, and the benefits of doing so.
Find a sample Excel file you can use on your computer. If you don’t have one, open and save to download to your computer this Excel file of a subset of the Hands-On Data Visualization reader public survey responses.
Log into your Google Drive account, and click the Gear symbol in the upper-right corner, as shown in Figure 2.9, to open the Settings screen. Note that this global Gear symbol > Settings appears at Google Drive level, not inside each Google Sheet.
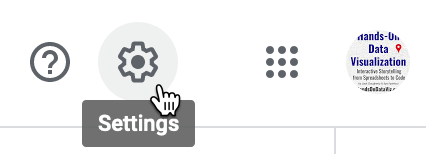
Figure 2.9: Click your Google Drive Gear Symbol - Settings in the upper-right corner.
- On the Settings screen, check the box to Convert uploaded files to Google Docs editor format, as shown in Figure 2.10, and click Done. This turns on the conversion setting globally, meaning it will convert all possible files that you upload in the future—including Microsoft Excel, Word, PowerPoint, and more—unless you turn it off.
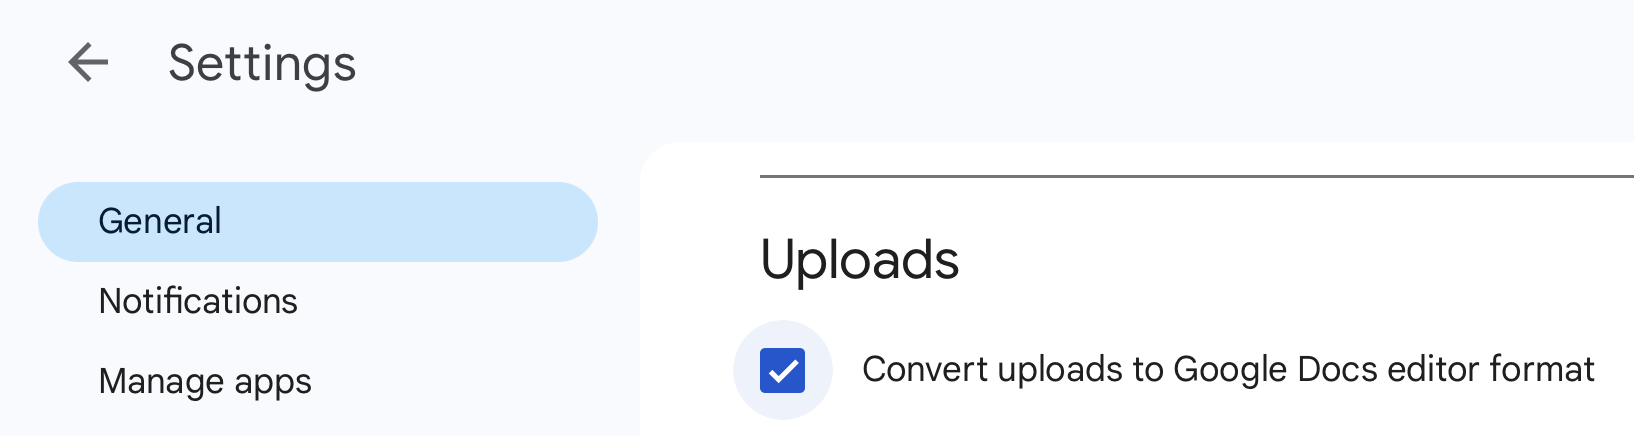
Figure 2.10: Inside your Google Drive Settings, check the box to automatically convert all uploads.
- Upload a sample Excel file from your computer to your Google Drive. Either drag-and-drop it to the desired folder, as shown in Figure 2.11, or use the New button and select File upload.
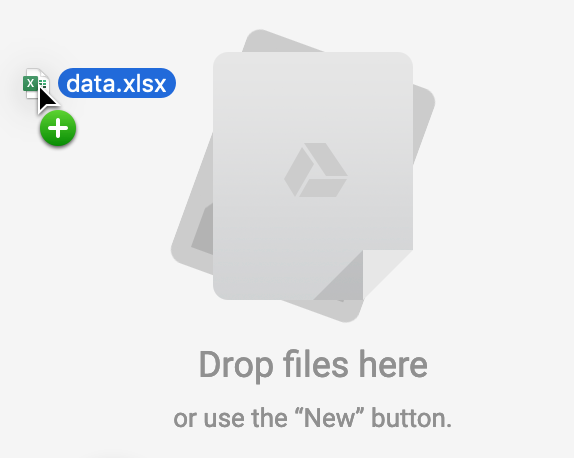
Figure 2.11: Drag-and-drop your sample Excel file into your Google Drive to upload it.
If you forget to check the Convert uploads box, Google Drive will keep uploaded files in their original format, and display their icons and file name extensions such as .xlsx or .csv, as shown in Figure 2.12.
Figure 2.12: If you forget to convert uploads, Google Drive will keep files in their original format with these icons.
Tip: Google Drive now allows you to edit Microsoft Office file formats, but not all features are guaranteed to work across platforms. Also, Google Drive now allows you to convert a specific uploaded Excel file into its Google format by using the File > Save as Google Sheets menu. Finally, to convert individual files to your Google Drive, while keeping the global conversion setting off, from inside any Google Sheet you can select File > Import > Upload. But we recommend that most people turn on the global conversion setting as described above, except in cases where you intentionally use Google Drive to edit an Excel-formatted file, and understand that some features may not work.
Now that you know how to upload and convert an existing dataset, in the next section you’ll learn how to install and use a Google Sheets add-on tool to geocode address data into latitude and longitude coordinates.