#StandWithUkraine - Stop the Russian invasion
Join us and donate. Since 2022 we have contributed over $5,000 in book royalties to Save Life in Ukraine & Ukraine Humanitarian Appeal & The HALO Trust, and we will continue to give!
Collect Data with Google Forms
At the top of this chapter, we invited you and other readers of this book to fill out a quick online survey, which publicly shares all of the responses in a sample dataset, so that we can learn more about people like you, and to continue to make revisions to match your expectations. In this section, you’ll learn how to create your own online form and link the results to a live Google Sheet.
Inside your Google Drive account, click on the New button and select Google Forms, as shown in Figure 2.16.
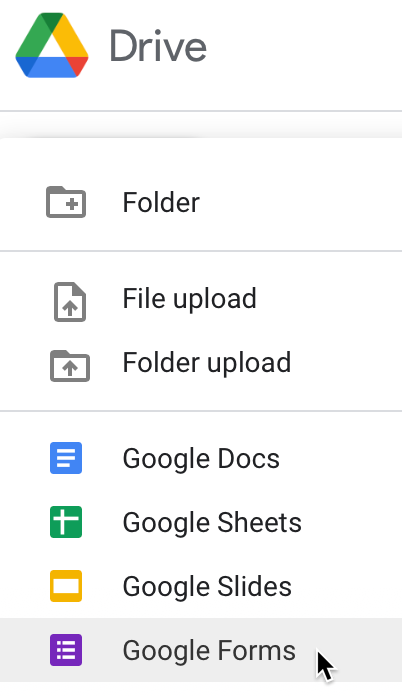
Figure 2.16: Click the New button to select Google Forms.
The Google Forms Questions tab allows you to design questions with different types of responses: short- and paragraph-length answers, multiple choice, checkboxes, file uploads, etc., as shown in Figure 2.17. Furthermore, Google Forms attempts to interpret questions you enter in order to predictively assign them to a type.
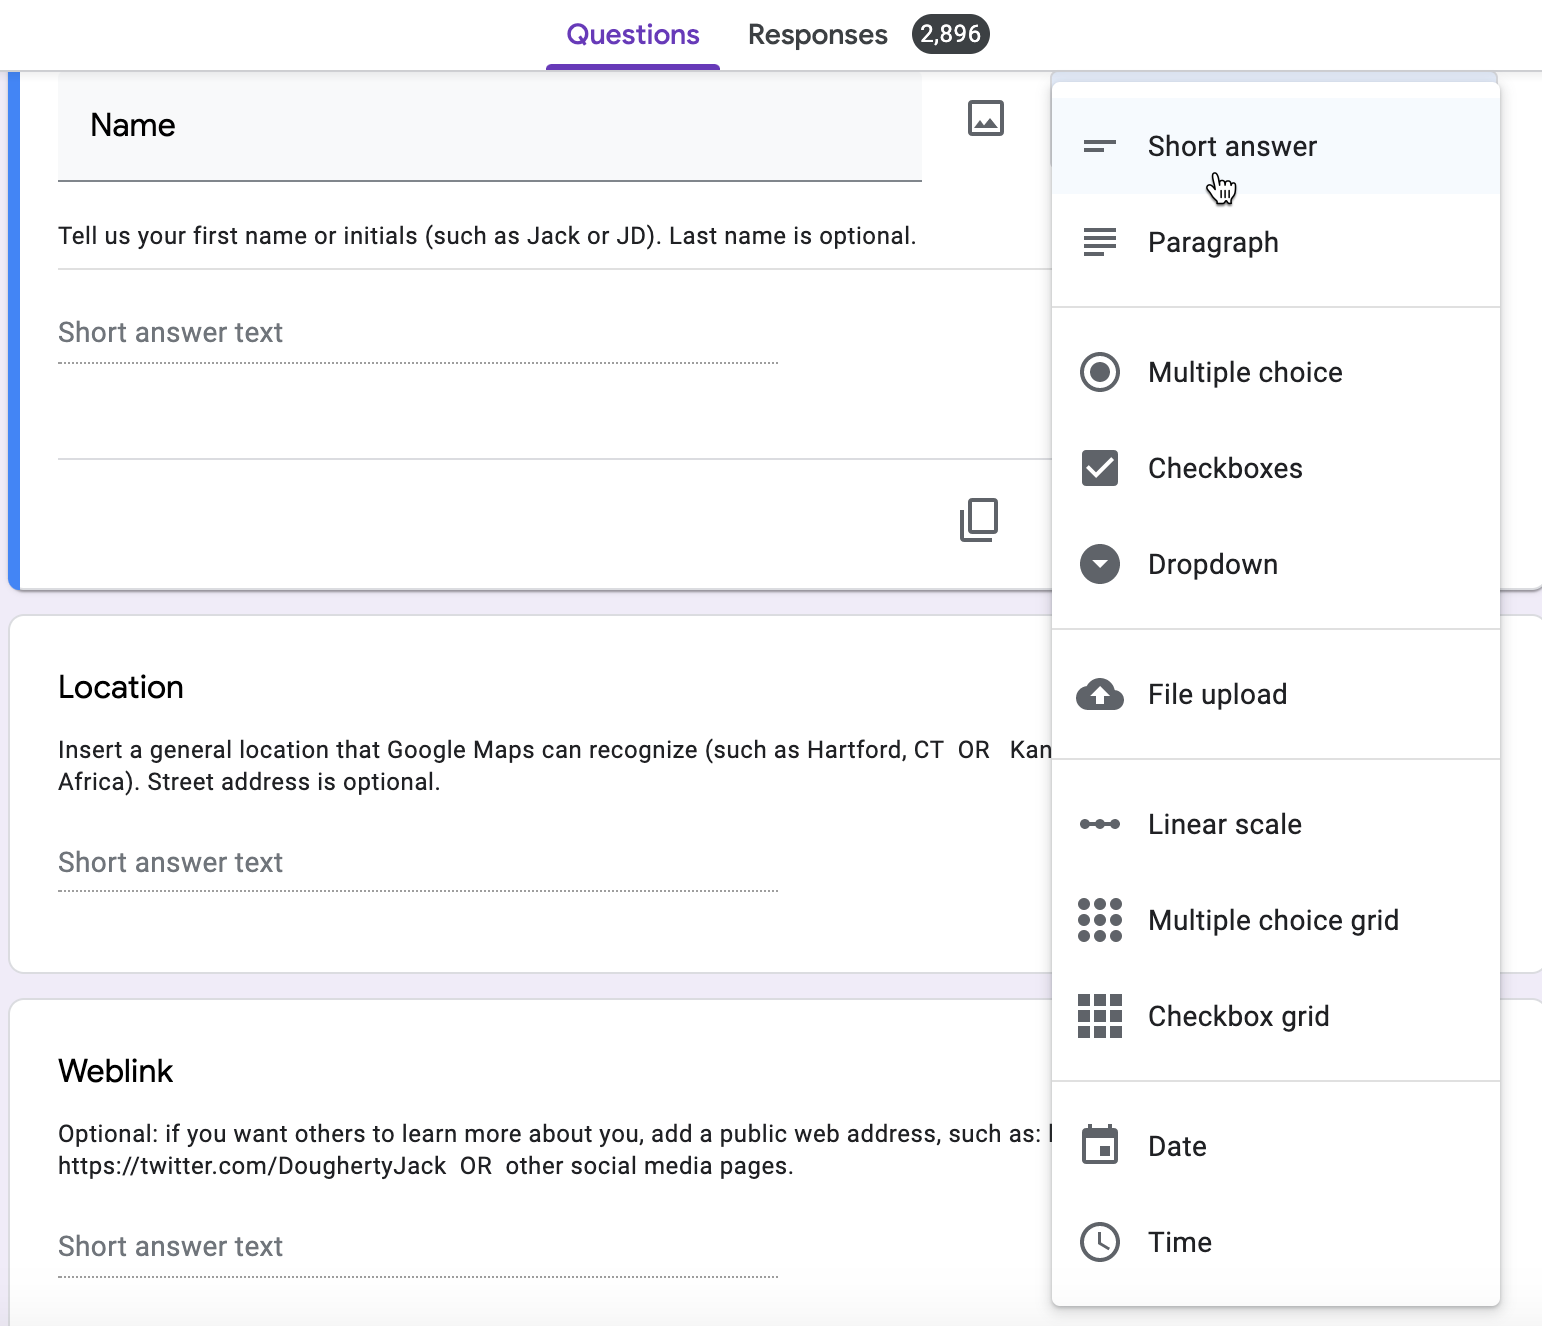
Figure 2.17: The Google Forms Questions tab allows you to designate different types of responses.
Give each question a very short title, since these will appear as column headers in the linked spreadsheet you’ll create further below. If a question needs more explanation or examples, click the three-dot kebob menu in the bottom-right corner to Show > Description, which opens a text box where you can type in more details, as shown in Figure 2.18. Also, you can Show > Response validation, which requires users to follow a particular format, such as an email address or phone number. Furthermore, you can select the Required field to require users to respond to a question before proceeding. See additional options on the Google Forms support page.
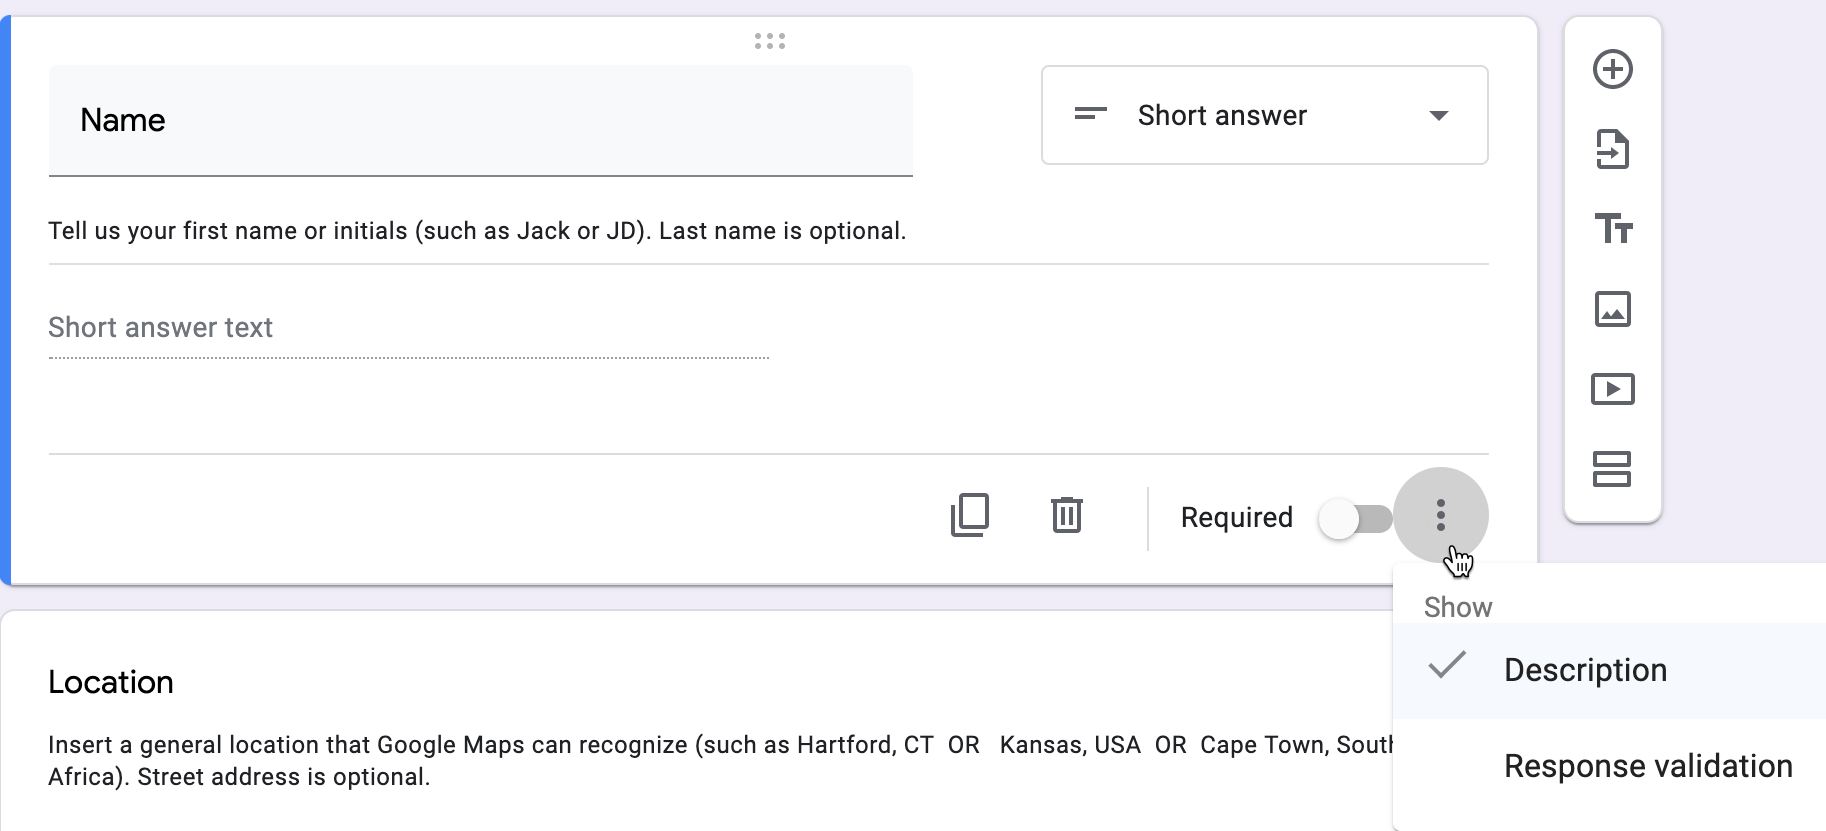
Figure 2.18: Click the three-dot kebab menu to Show - Description to add details for any question.
Note: Another name for the three-dot menu symbol is the “kebab menu” because it resembles Middle Eastern food cooked on a skewer, in contrast to the three-line “hamburger menu” on many mobile devices, as shown in Figure 2.19. Software developers must be hungry.

Figure 2.19: Distinguish between the hamburger versus kebab menu icons.
To preview how your online will appear to recipients, click the Eyeball symbol near the top of the page, as shown in Figure 2.20. When your form is complete, click the Send button to distribute it via email, a link, or to embed the live form as an iframe on a web page. Learn more about the latter option in Chapter 9: Embed on the Web.

Figure 2.20: Click the Eyeball symbol to preview your form.
The Google Forms Responses tab will show individual results you receive, and also includes a powerful button to open the data in a linked Google Sheet, as shown in Figure 2.21.
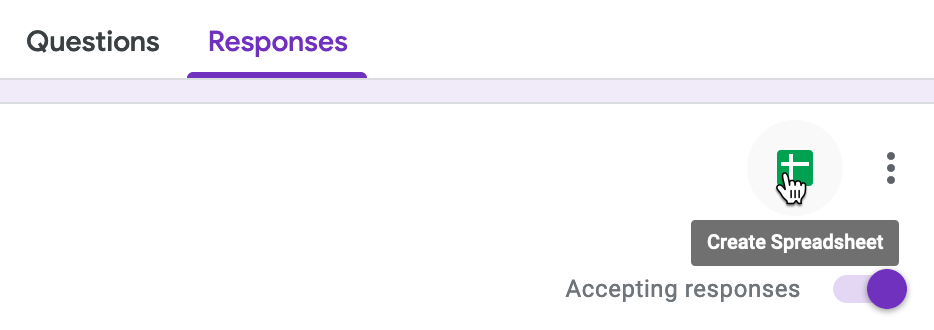
Figure 2.21: The Google Forms Responses tab includes a button to open results in a linked Google Sheet.
Now that you’ve learned how to collect data with an online form and linked spreadsheet, the next two sections will teach you how to sort, filter, and pivot tables to begin analyzing their contents and the stories they reveal.